
Views: 0 Author: Site Editor Publish Time: 2026-08-04 Origin: Site


Upgrading to a concealed shower system elevates bathroom aesthetics immediately. However, "behind-the-wall" plumbing requires rigorous upfront decision-making. You must plan the internal components meticulously. Mistakes in valve selection or installation depth often lead to costly tear-outs. Evaluating systems based purely on trim design poses a major risk. A beautiful dial cannot fix a leaking internal valve. This guide provides a highly technical and practical framework. We will help you evaluate, shortlist, and successfully install your setup. You will learn how to achieve this without compromising building compliance. Our goal is to ensure long-term reliability for your bathroom project. You need systems operating flawlessly behind the scenes for decades.
A true concealed setup separates the rough-in valve from the external trim; prioritizing a solid brass shower system valve is critical for leak prevention.
Water pressure and plumbing compatibility dictate your valve type (thermostatic vs. manual) and showerhead combinations.
Proper installation requires exact depth calculations and verified waterproofing before tiling begins.
Maintenance does not require wall demolition if you select systems with accessible front-facing cartridges and integrated service stops.
Understanding the core components guarantees a smoother installation. A true hidden setup separates the functional engine from the visual interface. We call the internal engine the "rough-in" valve. Plumbers install this heavy unit deeply within the wall cavity. It connects directly to your hot and cold water supplies. The rough-in handles all heavy fluid dynamics safely. Conversely, we call the visible user interface the "trim". You interact exclusively via these external controls. They sit flush against the finished tile surface. Trims contain the handles, faceplates, and push-buttons. They allow you to select your ideal temperature and water outlets. Separating these two components provides massive design flexibility. You can install the heavy engine early during timber framing. You later snap the delicate trim on after messy tiling finishes.
The rough-in valve represents the absolute critical point of failure. A weak valve causes devastating internal leaks over time. You must always demand highly durable materials. Choosing a solid brass shower system ensures maximum structural integrity. Brass resists internal corrosion exceptionally well. Cheaper plastic valve bodies crack under sudden water hammer pressure. Heavy brass castings absorb acoustic vibrations and thermal shocks efficiently.
Your visible trim houses the diverter mechanism. Diverters route mixed water to specific final outlets. These outlets might include an overhead spray or a handheld wand. The complexity of your diverter depends heavily on your system goals. You must also consider crucial system dependencies early. Wall cavity depth dictates your structural choices entirely. Structural timber studs determine exact valve placement. Shallow walls require specialized slimline valve blocks. You cannot force a deep valve into a narrow brick cavity.
Selecting the correct valve technology prevents daily frustration. You must choose between thermostatic and pressure-balancing options. Thermostatic valves lock exact temperatures dynamically. They mix hot and cold flows instantly via a wax cartridge. This provides strict anti-scald compliance. Families with young children need this vital safety feature. Pressure-balancing valves feature simpler internal mechanics. They handle sudden pressure drops efficiently. If someone flushes a toilet, the valve balances the flow. They suit tighter project budgets better but lack precise temperature locking.
Water pressure constraints dictate your final hardware choices heavily. You must match your home boiler output to the system demands. Gravity-fed homes often suffer from notoriously low pressure. Installing a high-flow hidden shower mixer in a low-pressure home causes dismal flows. Measure your Bar or PSI rating before buying anything. Pumps can successfully boost older gravity systems. Combi-boilers supply robust mains pressure directly.
Evaluating material integrity remains a non-negotiable metric. Weight matters significantly when inspecting a valve. Heavy casting indicates thick, reliable chamber walls. Thin metals warp over time and cause cartridge binding. You should always trust heavy brass components for longevity.
Diverter complexity depends on the number of planned outlets. We use a simple framework for evaluating diverter needs. Review the chart below to match diverters to your daily usage.
Diverter Type | Supported Outlets | Ideal Scenario | Flow Requirement |
|---|---|---|---|
1-Way Diverter | Single function only | Minimalist setups using just an overhead spray. | Low to Medium |
2-Way Diverter | Dual functions | Standard upgrades combining an overhead and handset. | Medium to High |
3-Way Diverter | Triple functions | Luxury setups featuring overhead, handset, and body jets. | Very High |
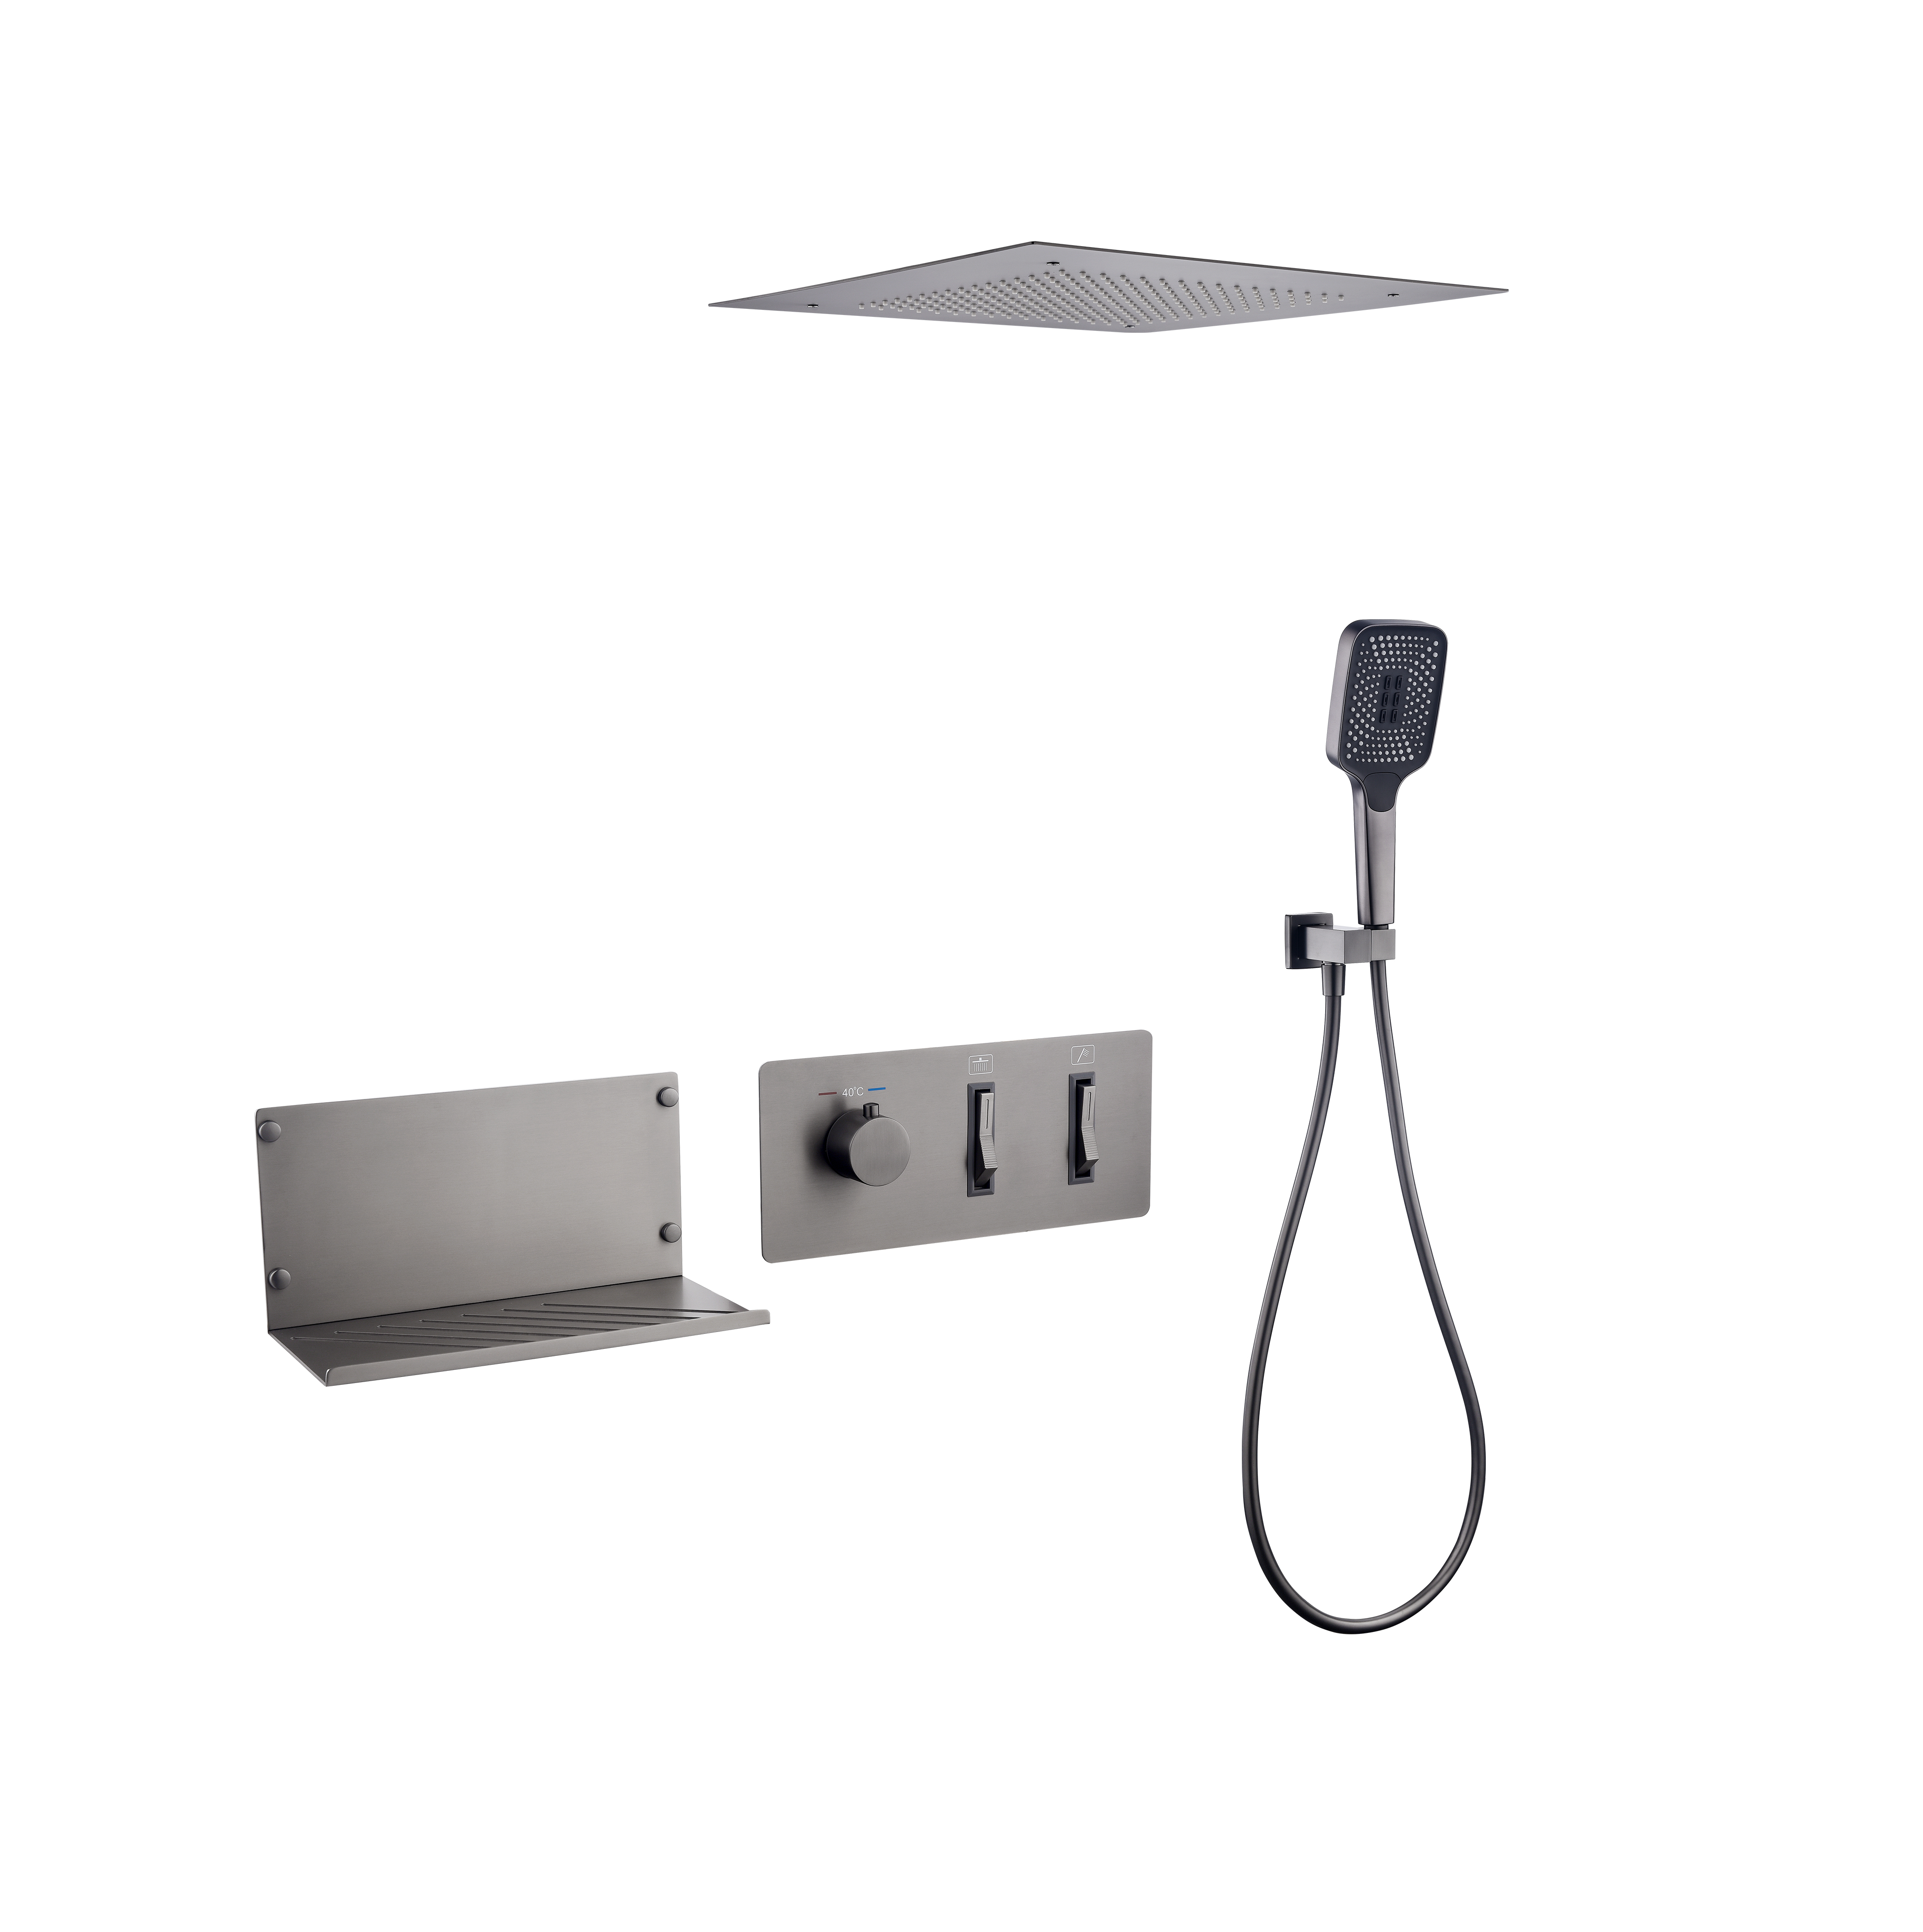
Every bathroom project demands a highly specific plumbing approach. High-end residential upgrades focus heavily on daily user experience. Homeowners usually want broad water coverage and elegant controls. A dual-function rainfall shower set offers exceptional daily luxury. These setups combine a wide overhead drenching plate with a handset. The handset adds practical rinsing utility for cleaning the enclosure. Push-button trims simplify operation for all ages. They replace stiff traditional dials with intuitive, tactile switches.
Commercial builds require an entirely different specification standard. What defines a truly reliable hotel shower system? High guest turnover demands extreme mechanical durability. Commercial projects rely on heavily standardized rough-in boxes. This helps maintenance crews swap parts seamlessly across hundreds of rooms. Plumbers install anti-vandal trims to prevent deliberate damage. Control dials feature hidden set screws. Internal cartridges must allow incredibly fast front-access replacements. A hotel cannot afford to close a room for wall repairs.
Luxury spa implementations push plumbing boundaries further. Multi-body-jet systems require massive simultaneous flow rates. Steam integrations need highly specialized environmental setups. Standard half-inch pipe sizing rarely handles spa volumes. Plumbers usually upgrade supply lines to three-quarter-inch copper. This high water volume also demands high-capacity linear drainage. Standard circular drains will flood the room within minutes. You must plan extraction and drainage alongside your valve selection.
Hidden plumbing carries inherent installation risks. Depth clearance issues represent the primary contractor pain point. Most advanced valves need 70mm to 100mm of cavity depth. Brick walls require deep, dusty chasing by skilled laborers. Timber stud walls need robust cross-bracing to hold heavy valves. Always measure the cavity twice before purchasing hardware. If the valve protrudes too far, the trim cannot sit flush.
Integrating pipework and waterproofing properly prevents structural disaster. The industry refers to waterproofing as "tanking". Integrating the concealed shower faucet into the tanking membrane is strictly non-negotiable. Tile grout remains inherently porous. Water will penetrate grout lines eventually. Only a robust liquid tanking membrane stops moisture from rotting studs. Plumbers must use flexible sealing sleeves around the valve body. Rubber gaskets prevent capillary action along the metal casing.
Here are common mistakes to watch out for during installation:
Skipping the sealing collar: Failing to wrap the valve block allows water to leak behind tiles.
Ignoring plasterboard thickness: Calculating depth without accounting for tile and adhesive thickness causes trim misalignment.
Using cheap plastic fittings: Threaded plastic adapters often crack when tightened against brass valves.
Failing to brace the pipework: Unsecured pipes cause a loud, banging "water hammer" effect when valves close.
Pre-tiling pressure tests remain a mandatory safety step. Plumbers must rigidly cap all open water outlets. They then introduce high water pressure into the rough-in block. This exposes faulty solder joints or loose threads immediately. You must never close the wall before completing this test. Fixing a leak during the framing stage takes ten minutes. Fixing a leak after tiling requires a sledgehammer.
You must approach budgeting by looking beyond the retail box. Hardware represents just one segment of your total expenditure. You must account for retrofit labor thoroughly. Modifying stud frames or chasing brickwork requires highly skilled tradespeople. Upgrading old pipework to support high-flow valves adds substantial labor hours. Professional liquid waterproofing requires specialized membranes and tapes. Consider the full scope of preparation work. Buying cheap valves guarantees expensive demolition later. Investing in solid engineering saves thousands in future repairs.
Future-proofing your bathroom requires prioritizing long-term maintenance. You should strictly shortlist brands offering guaranteed parts availability. Look specifically for systems featuring integrated "service stops". These isolation valves sit directly on the rough-in block. They let you shut off water locally at the shower. You can swap a faulty cartridge while the rest of the house functions normally. Localized shut-offs save plumbers hours during routine maintenance visits.
Use this final decision matrix to guide your purchase process:
Confirm your home water pressure: Measure your Bar or PSI rating accurately. Determine if you rely on a combi-boiler or a gravity-fed tank.
Measure your wall cavity depth: Verify the exact millimeters available behind the plasterboard. Choose a slimline valve if space remains tight.
Select your valve technology: Choose a thermostatic unit for family safety. Choose pressure-balancing for simpler budget projects.
Determine your outlet count: Decide if you want one, two, or three showerheads. Match your diverter complexity to this number.
Choose your trim style: Select faceplates and handles matching your overall bathroom aesthetic.
A successful concealed installation relies on strict technical preparation. Remember the industry rule: 80% of success relies on hidden infrastructure. Only 20% depends on the visible aesthetic. A stunning exterior dial means absolutely nothing if the internal valve leaks. You must prioritize heavy brass components over cheap plastics. You must enforce rigorous waterproofing and mandatory pressure testing. As your next action, consult your preferred plumber immediately. Provide them with your exact water pressure specs. Measure your wall depth accurately together. Complete these technical steps before purchasing any hardware. This proactive approach prevents costly hardware returns and guarantees long-term showering reliability.
A: Not always. Premium concealed valves feature front-access cartridges. You simply remove the external trim plate to access the internal mechanics. Plumbers can swap faulty thermostatic cartridges or tighten seals through this opening. However, if the brass valve body cracks or pipe joints leak, a wall tear-out becomes necessary.
A: Most standard systems require a wall cavity depth between 70mm and 100mm. This measurement includes the plasterboard and tile thickness. Certain brands manufacture ultra-slim valve blocks needing only 50mm to 60mm. Always check the manufacturer's specification sheet before cutting into your wall.
A: Yes, provided your combi boiler delivers sufficient flow rates. Large rainfall heads often require 12 to 15 liters per minute. If your combi boiler only outputs 10 liters, the shower will feel weak. Simultaneous hot water demand elsewhere in the house will also drop the pressure instantly.
A: No. Valves and exterior trims are almost strictly brand-specific. A rough-in valve from one manufacturer will not accept a trim plate from another. Furthermore, components are rarely interchangeable even across different product lines from the same brand. You must buy matching sets.


